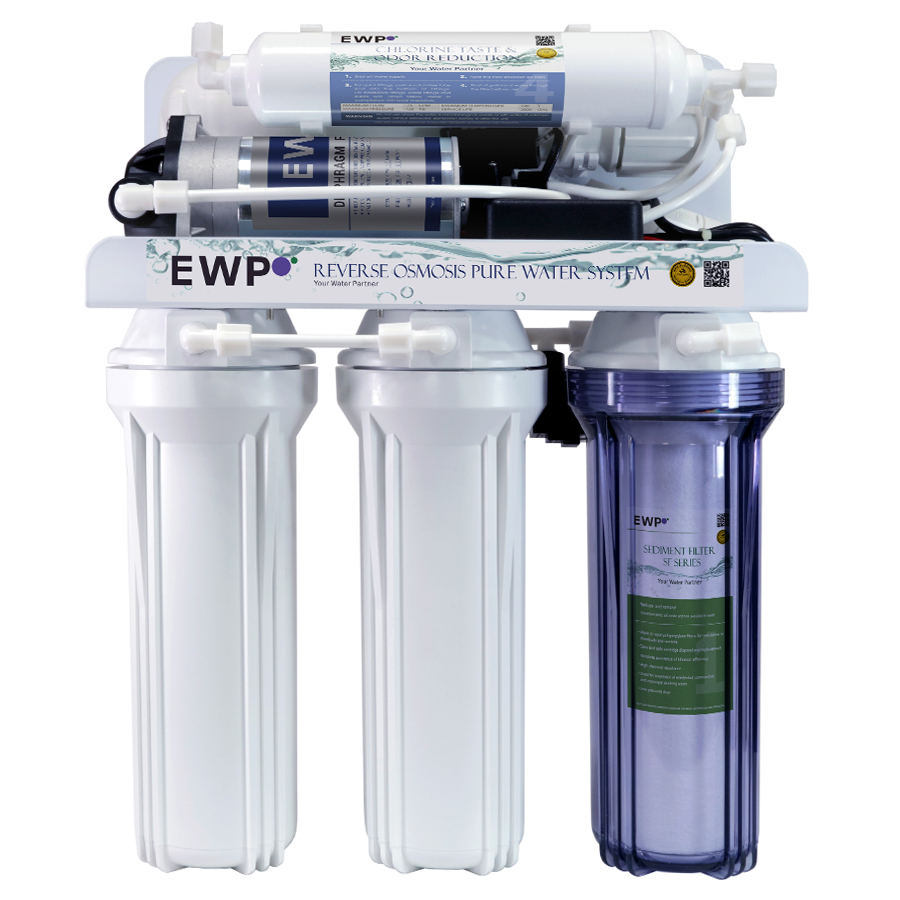
Maintaining your residential Reverse Osmosis (RO) system is crucial for ensuring the delivery of clean and safe drinking water to your home. Regularly changing the filters is a key part of this maintenance. In this guide, we’ll walk you through the step-by-step process of “How to Change Reverse Osmosis Filters” in your home RO system.
Why Change RO Filters?
- Maintains Water Quality: Over time, filters become clogged with contaminants, reducing their efficiency.
- Extends System Life: Regular maintenance prevents damage and prolongs the lifespan of your RO system.
- Ensures Health and Safety: Fresh filters ensure that your water remains free from harmful substances.

When to Change RO Filters
The typical schedule for residential RO filter replacement is:
- Sediment and Carbon Filters: Every 6-12 months
- RO Membrane: Every 2-3 years
- Polishing/Post-Carbon Filter: Every 12 months
Tools and Materials Needed
- Replacement filters (Sediment, Carbon, RO Membrane, Post-Carbon)
- Filter wrench (if applicable)
- Bucket or bowl
- Clean cloth or towel
Step-by-Step Guide
1. Turn Off the Feedwater Supply
Locate the feedwater supply valve and turn it off to prevent water flow into the RO system.
2. Release Pressure
Open the RO faucet to release any built-up pressure in the system. This step helps prevent water spills when you disconnect the filters.
3. Remove the Old Filters
Sediment and Carbon Filters:
Use the filter wrench to unscrew the filter housings.
Remove the old filters and discard them appropriately.
Rinse the housing with clean water and wipe it with a clean cloth.
RO Membrane:
Open the RO membrane housing.
Pull out the old membrane using pliers if necessary.
Rinse the housing.
Post-Carbon Filter:
Disconnect the tubing from the post-carbon filter.
Remove and discard the old filter.
4. Install the New Filters
Sediment and Carbon Filters:
Insert the new sediment and carbon filters into their respective housings.
Screw the housings back on tightly using the filter wrench.
RO Membrane:
Insert the new RO membrane into the housing, ensuring it fits snugly.
Secure the membrane housing cap.
Post-Carbon Filter:
Connect the new post-carbon filter to the tubing.
Secure the connections.
5. Turn On the Water Supply
Slowly turn on the water supply valve to allow water to flow into the system.
6. Check for Leaks
Inspect all connections and housings for any leaks. Tighten connections as needed.
7. Flush the System
Allow the RO system to run for a few minutes to flush out any trapped air and carbon fines. This step ensures optimal filter performance.
Conclusion Regularly changing the filters in your residential RO system is essential for maintaining water quality and system efficiency. By following this step-by-step guide, you can ensure that your home continues to receive clean and safe drinking water
Author: Andrew Sung
