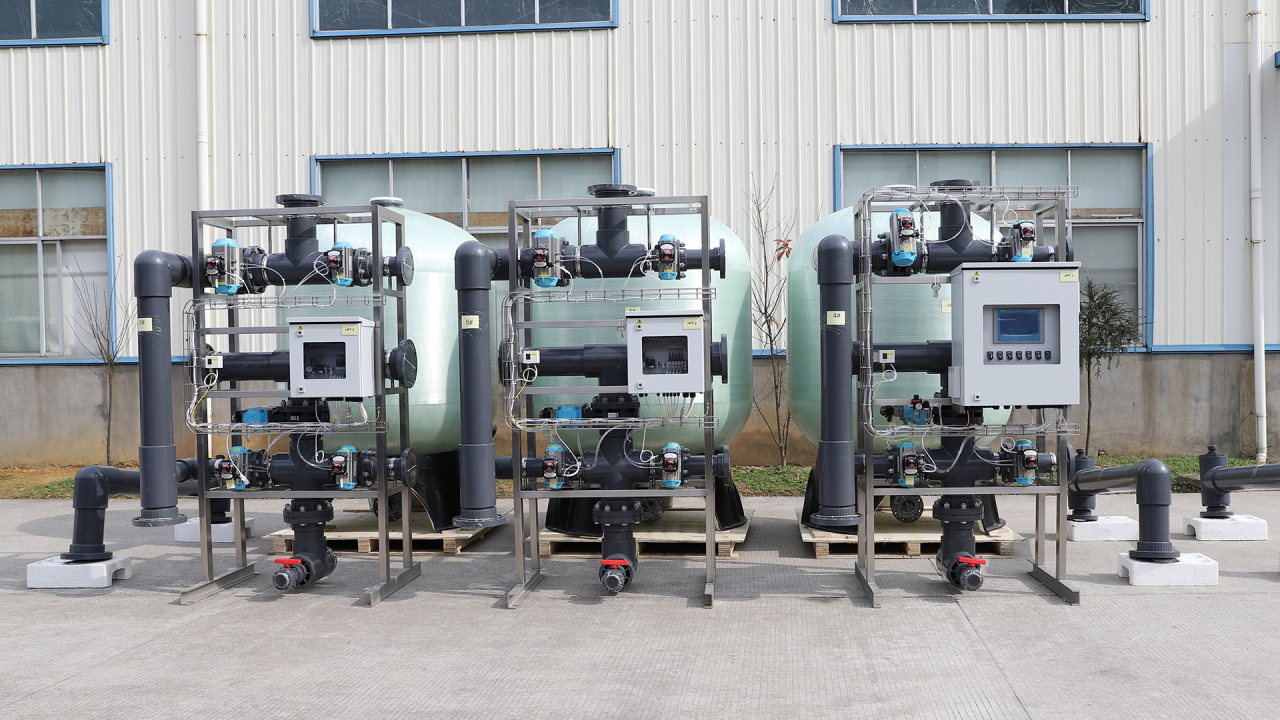
Industrial Reverse Osmosis (RO) systems play a crucial role in delivering high-purity water for various applications, from manufacturing to pharmaceutical production. Regular filter maintenance is essential to ensure these systems operate efficiently and reliably. This guide will provide a step-by-step process for changing filters in industrial RO systems.

Changing the filters in your industrial RO system is critical for several reasons:
- Maintains Water Quality: Ensures the system continues to produce high-purity water by removing contaminants effectively.
- Prevents Downtime: Regular maintenance reduces the risk of unexpected system failures, thereby avoiding costly downtime.
- Extends Equipment Lifespan: Properly maintained filters protect the RO membranes and other components, prolonging their operational life.
Recommended Filter Change Schedule
While the specific schedule may vary based on the application and water quality, a general guideline for industrial RO systems is:
- Pre-filters (Sediment and Carbon): Every 3-6 months
- RO Membrane: Every 1-3 years
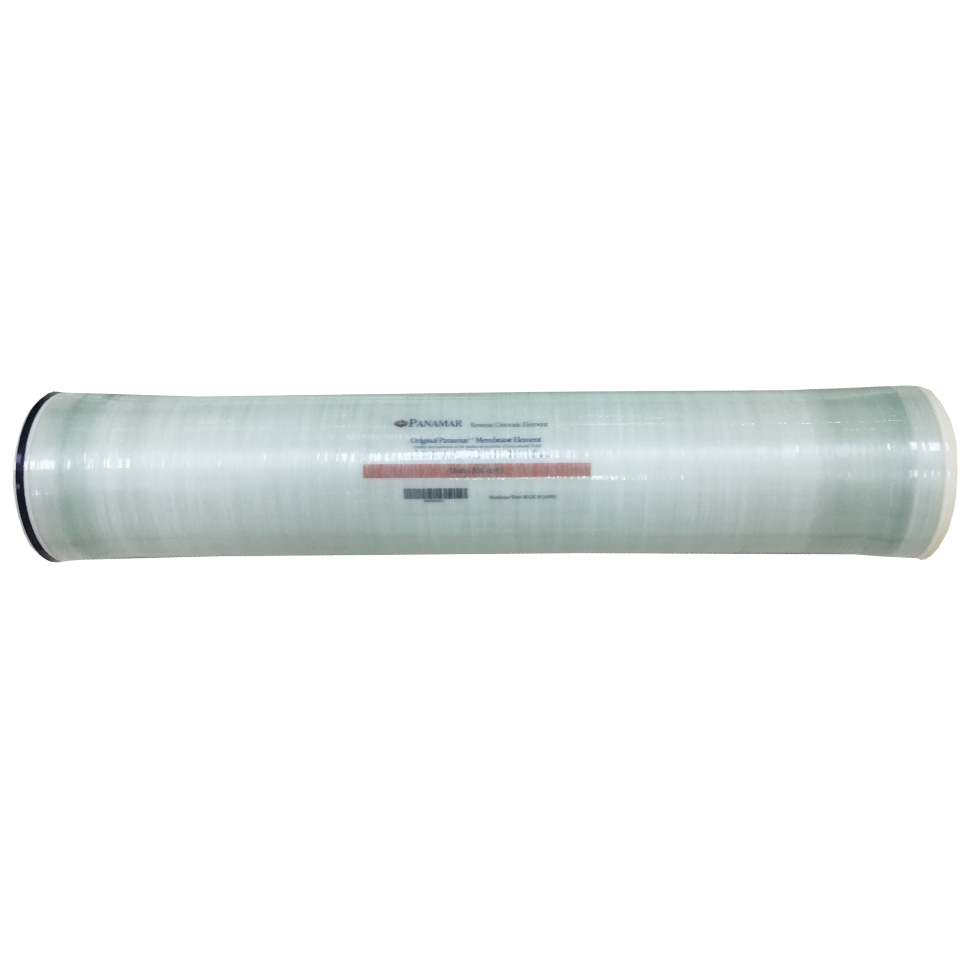
- Post-filters (if applicable): Every 6-12 months
Preparation and Safety Measures
- PPE: Gloves, safety glasses, and any other required safety gear.
- System Shutdown: Ensure the RO system is completely shut down and depressurized.
- Documentation: Maintenance log to record the date and type of filter changes.
- Tools and Materials Needed: Bucket, filter wrench, pliers, towels etc.
- Replacement filters (Sediment, Carbon, RO Membrane, Post-filters)
- Sanitizing solution (for housing units)
Step-by-Step Guide
1. Turn Off the System and Isolate Water Supply
Shut down the RO system using the main control panel.
Close the water supply valves to isolate the system from incoming water.
2. Depressurize the System
Open the drain valve or a service port to release any built-up pressure in the system. This step is crucial to prevent water spills and ensure safety.
3. Remove the Old Filters
Pre-filters (Sediment and Carbon):
Locate the pre-filter housing units.
Use the filter wrench to unscrew the housing.
Carefully remove the old filters and place them in a waste container.
Rinse the housing with clean water and sanitize them if necessary.
Open the RO membrane housing using a wrench or by hand if possible.
Use pliers or a membrane puller to carefully extract the old membrane.
Rinse and sanitize the membrane housing.
Post-filters:
Disconnect the tubing from the post-filters.
Remove the old filters and dispose of them appropriately.
Rinse and sanitize the filter housings.
4. Install the New Filters
Pre-filters (Sediment and Carbon):
Place the new sediment and carbon filters into their respective housings.
Screw the housings back on tightly using the filter wrench.
RO Membrane:
Insert the new RO membrane into the housing, ensuring it is properly seated.
Secure the membrane housing cap tightly.
Post-filters:
Connect the new post-filters to the tubing.
Ensure all connections are secure and leak-free.
5. Turn On the Water Supply and System
Gradually open the water supply valves to allow water to flow into the system.
Power on the RO system using the main control panel.
6. Check for Leaks
Inspect all filter housings and connections for any signs of leaks.
Tighten any connections that show signs of water leakage.
7. Flush the System
Run the system for a few minutes to flush out any trapped air and carbon fines.
Ensure that the system operates smoothly and that the water quality meets the required standards.
Conclusion Regularly changing the filters in your industrial RO system is essential for maintaining water quality, ensuring operational efficiency, and extending the lifespan of your equipment. By following this comprehensive guide, you can perform filter changes safely and effectively, keeping your system in top condition.
Author: Andrew Sung